Flutter 'Signed in Debug Mode' Google Play Upload Error: The 5-Step Fix (2026)
Why does Google Play say my Flutter app bundle was signed in debug mode?
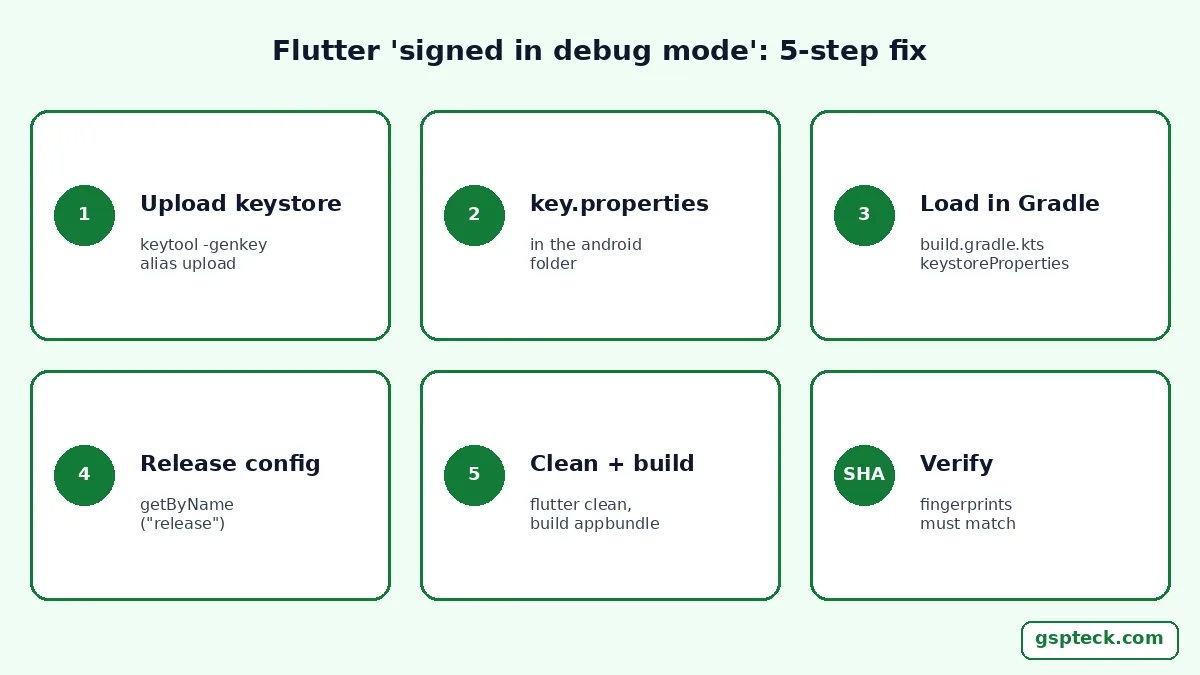
Because a new Flutter project's release build is signed with the debug key until you change it. The generated android/app/build.gradle.kts sets the release build type to signingConfigs.getByName("debug"), with a code comment saying so, and Google Play rejects the upload with "You uploaded an APK or Android App Bundle that was signed in debug mode. You need to sign your APK or Android App Bundle in release mode." The fix is five steps: create an upload keystore, reference it in key.properties, load it in Gradle, point the release build at it, then clean and rebuild. Checked against the Flutter and Android documentation on 2026-11-10.
GSPTeck is giosaia's indie studio that builds and ships Flutter and Firebase apps on Google Play, and this is the first upload error most new Flutter developers hit.
What does the Flutter template do by default?
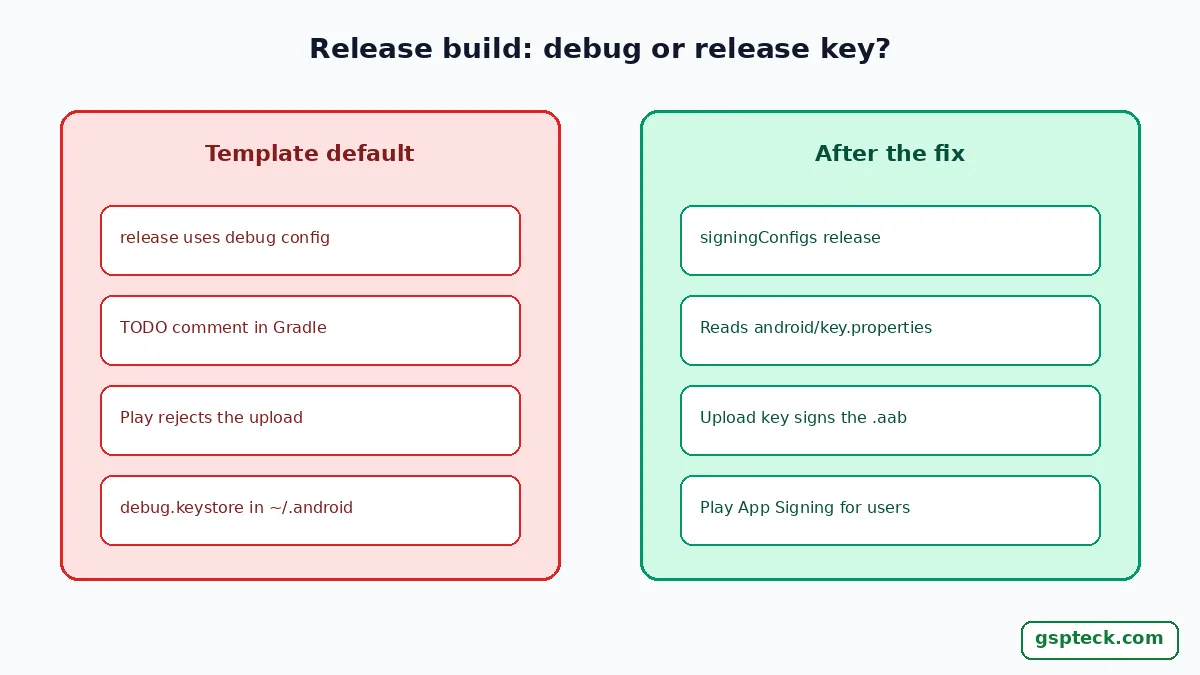
Flutter's template signs release builds with the debug keystore so that flutter run --release works before you have a key. The Flutter Android release guide shows the generated block with the comment "Signing with the debug keys for now", and tells you to replace it with a release signing config.
The Android app signing documentation explains why the store refuses it: the debug certificate is created by the build tools and is "insecure by design", so most app stores, including Google Play, don't accept apps signed with it. Android Studio stores that key in $HOME/.android/debug.keystore.
The 5-step debug-mode fix
Follow these steps in order; most failed fixes skip step 5 or have a wrong path in step 2.
- Create an upload keystore. On macOS or Linux, Flutter's guide gives:
keytool -genkey -v -keystore ~/upload-keystore.jks -keyalg RSA -storetype JKS -keysize 2048 -validity 10000 -alias upload. If keytool isn't on your path, flutter doctor -v prints the Java binary location next to it. - Create android/key.properties. Four lines: storePassword, keyPassword, keyAlias=upload and storeFile with the full path to the .jks file. On Windows, write the path with double backslashes.
- Load the file in Gradle. At the top of android/app/build.gradle.kts, import java.util.Properties and java.io.FileInputStream, create keystoreProperties and load rootProject.file("key.properties") if it exists.
- Point the release build at it. Inside android, add signingConfigs { create("release") { ... } } reading keyAlias, keyPassword, storeFile and storePassword, and in buildTypes change the release line to
signingConfig = signingConfigs.getByName("release"). - Clean and rebuild. Run flutter clean, then flutter build appbundle. The Flutter guide notes you might need flutter clean after changing the Gradle file so cached builds don't affect signing.
Prefer a dialog to a command line? The Android signing documentation also describes creating the upload key in Android Studio: Build, Generate Signed Bundle/APK, choose Android App Bundle, then Create new under the key store path. Use that only to make the .jks file; still wire it into Gradle with steps 2 to 4, or every flutter build appbundle from the terminal goes back to the debug key.
Older projects use the Groovy file android/app/build.gradle instead; the same five steps apply, with signingConfig signingConfigs.release in the release block. The finished bundle is written to build/app/outputs/bundle/release/.
How do you check which key signed the bundle before uploading?
Print the bundle's certificate and compare its SHA-256 fingerprint with your upload key's; if they match, Play will accept the signature. Two keytool commands do it.
| Check | Command | What you want to see |
|---|---|---|
| Your upload key | keytool -list -v -keystore ~/upload-keystore.jks -alias upload | The SHA-256 fingerprint of your key |
| The built bundle | keytool -printcert -jarfile build/app/outputs/bundle/release/<bundle>.aab | The same SHA-256 and the owner name you typed |
| Gradle's view | ./gradlew signingReport in the android folder | The release variant pointing at your .jks, not debug.keystore |
The keytool reference documents -printcert -jarfile for reading the certificate of a signed file. If the fingerprints differ, the release block is still using debug, or key.properties wasn't found.
Why does the error come back after the fix?
Usually because Gradle never loaded key.properties, or because an old build was uploaded. The template only loads the file if it exists, so a wrong location silently leaves the signing values empty.
- Wrong folder. rootProject.file("key.properties") looks in the android folder, so the file must be android/key.properties, not the project root.
- Stale build. Upload the bundle you just built, and run flutter clean first.
- Two release lines. If the debug line is still there below the release one, the last assignment wins. Delete the debug line.
- CI builds. On a build server the keystore and key.properties don't exist unless your pipeline writes them from secrets, so the release config gets no keystore values. Keep both files out of source control, as Flutter's guide warns.

Upload key or app signing key: which one is this?
The key you just made is the upload key. Flutter's guide explains that Android uses two keys: you sign the .aab with an upload key, and with Play App Signing, Google signs the APKs users download with the app signing key. Losing the upload key is recoverable through a reset; our guide to resetting a lost Flutter upload key covers it.
Back up the .jks file and its passwords. Android's documentation recommends a validity of 25 years or more for app signing keys, and says Google Play requires the signing key's validity to end after 22 October 2033; the 10,000-day validity in Flutter's command clears that.
What usually goes wrong next?
Once signing works, the next two upload errors are a reused version code and a Google sign-in failure on the Play build. Version code already used explains the pubspec version number, and Google Sign-In failing on the Play release explains why the app signing key's SHA-1 must be registered in Firebase. Our Flutter Firebase release checklist lists every check before each release.
See the apps GSPTeck ships with this setup on the GSPTeck homepage.
FAQ
How do I fix "signed in debug mode" in Flutter?
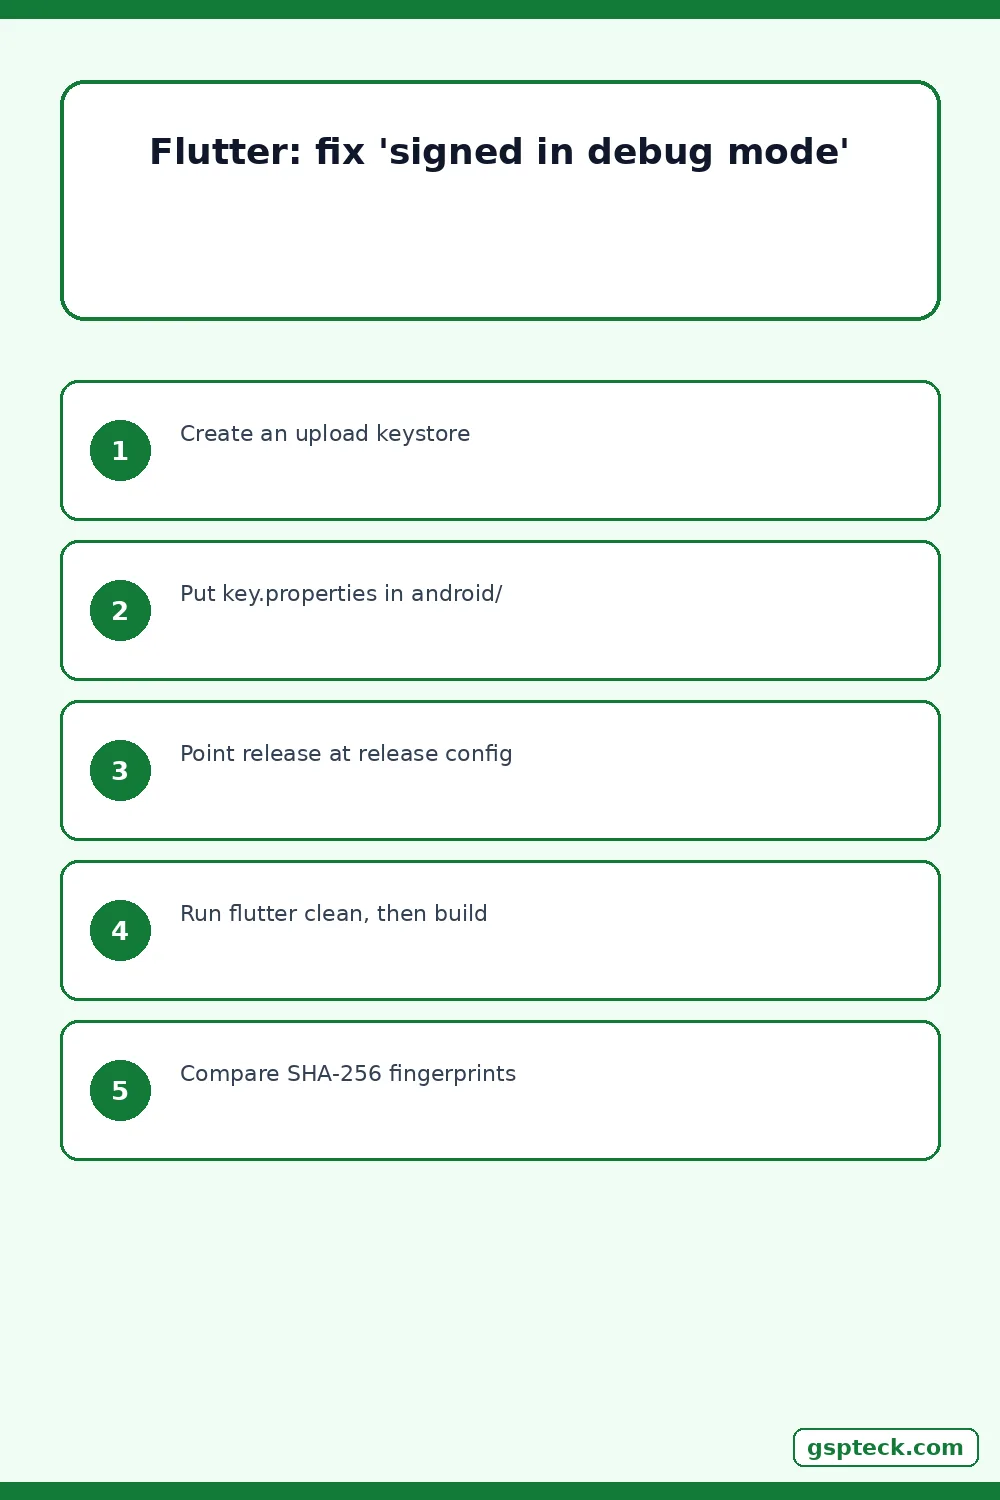
Create an upload keystore, add android/key.properties, load it in android/app/build.gradle.kts, change the release build type to signingConfigs.getByName("release"), then run flutter clean and flutter build appbundle. Upload the new bundle.
Why is my Flutter release build signed with the debug key?
New Flutter projects ship with the release build type pointing at the debug signing config so flutter run --release works out of the box. It stays that way until you add your own release signing config.
Where does key.properties go in a Flutter project?
In the android folder, as android/key.properties, because the Gradle script loads it with rootProject.file. Keep it out of source control.
Do I need flutter clean after changing the signing config?
Often, yes. The Flutter guide says you might need flutter clean after changing the Gradle file so that cached builds don't affect signing.
Sources
- Flutter docs: Build and release an Android app (signing) (checked 2026-11-10)
- Android Developers: Sign your app (checked 2026-11-10)
- Oracle: keytool command reference (checked 2026-11-10)