Android Developer Verification for Flutter Apps: Check Your Package Names (2026)
What is Android developer verification, and what do Flutter developers need to do?
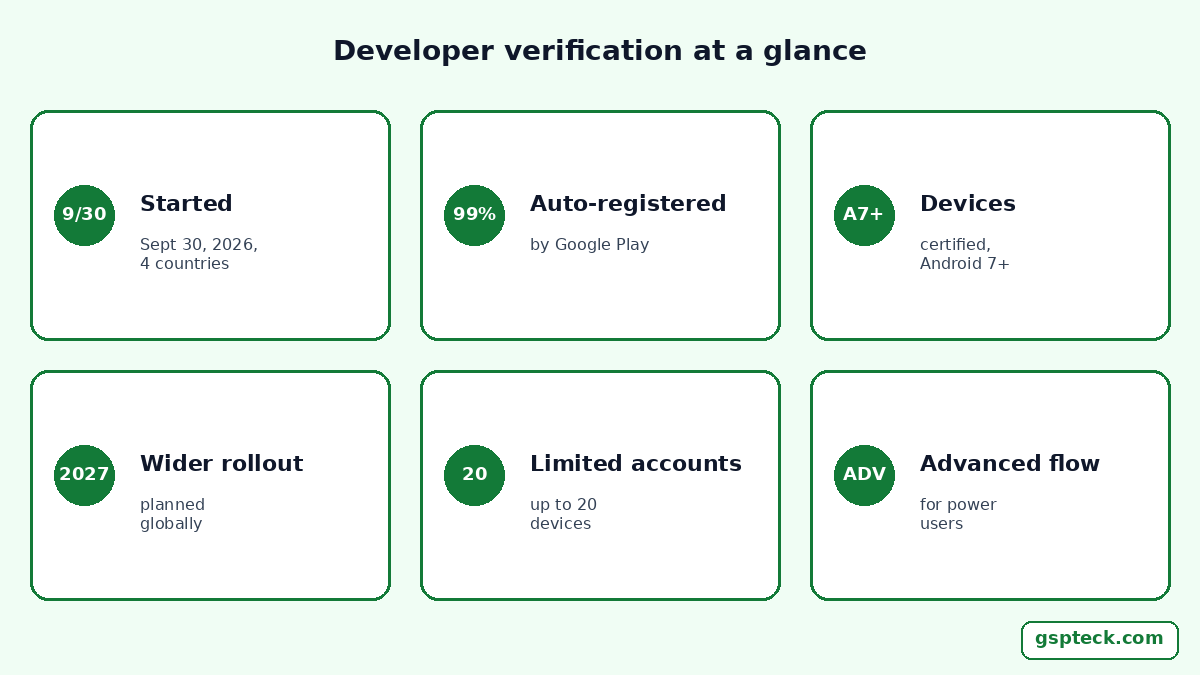
Android developer verification is Google's program to tie every app's package name to a verified developer identity. Protections began on September 30, 2026 for users who install apps from participating stores in Brazil, Indonesia, Singapore and Thailand on certified devices running Android 7 or newer, with a wider rollout planned for 2027. If you ship Flutter apps on Google Play, the good news is that Google Play automatically registers 99% of apps. Your job is not to redo everything: it is to check that each of your package names is registered, and to fix the ones that are not.
This guide gives you a short method for that check, explains the two kinds of registration (new and existing package names), and shows the one tricky part: proving you own the signing key. It is written for solo developers and small teams who publish Flutter apps and do not have a release manager.
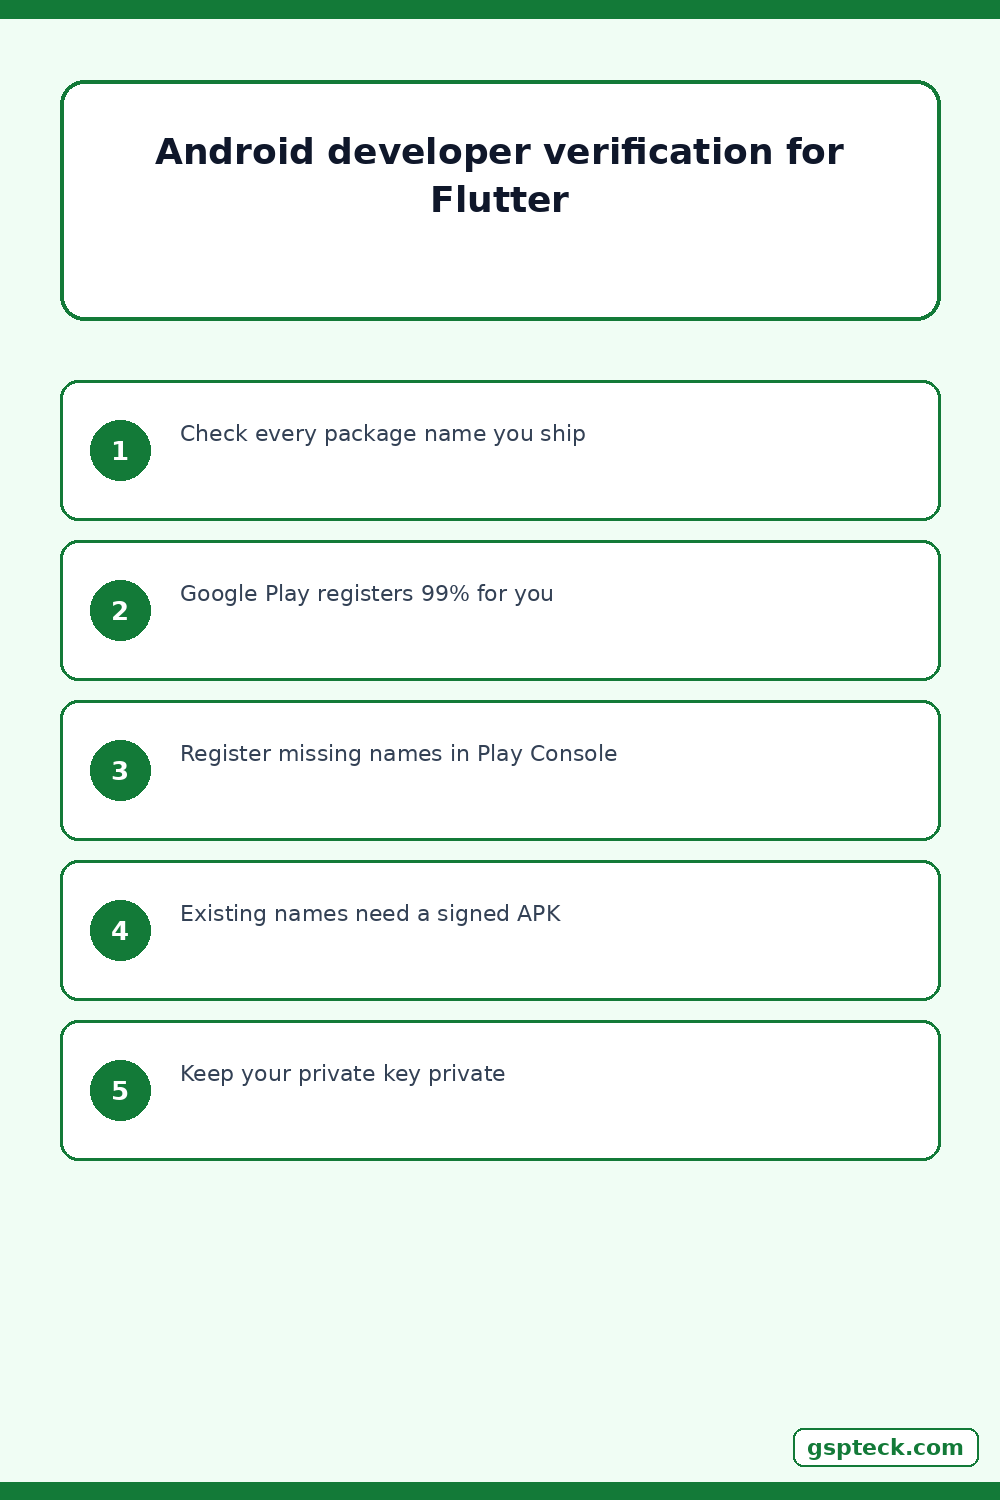
The 5-step package registration check
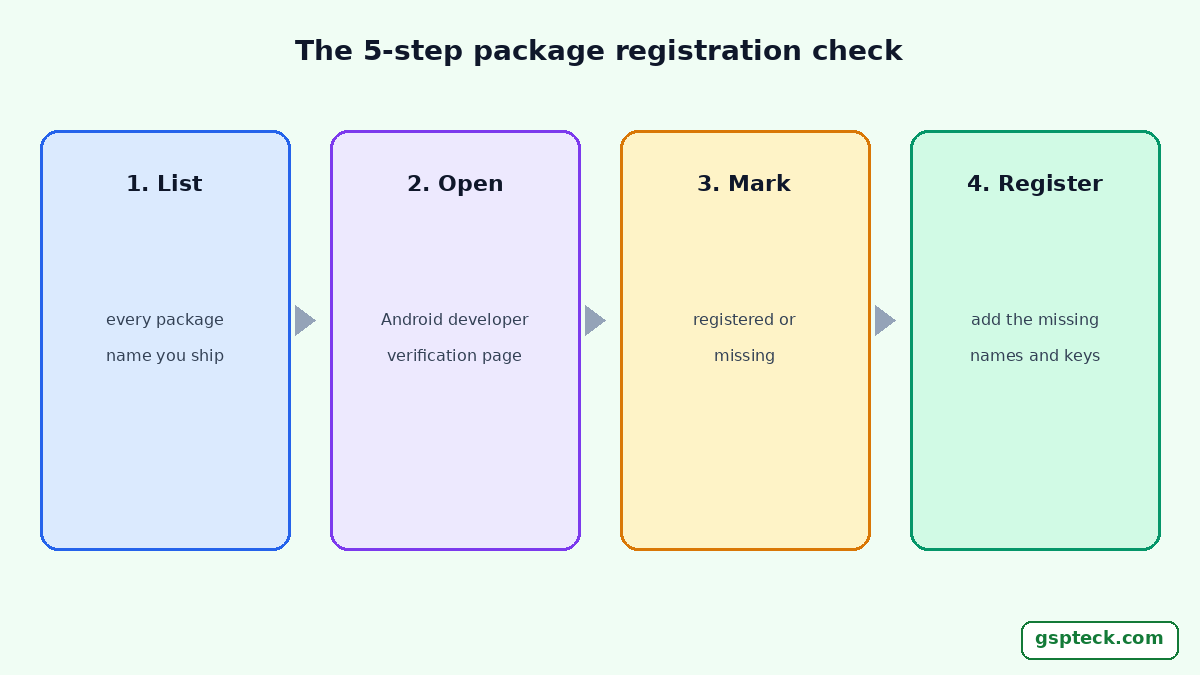
Run these five steps once for every app you publish. For most developers, steps 1 to 3 are the whole job.
- List your package names. In a Flutter project, the application ID is in
android/app/build.gradle(orbuild.gradle.kts). Write down one per app, including old apps you no longer update. - Open the Android developer verification page in Play Console. Check the Package names tab and find each name from step 1.
- Mark each name as registered or not. Write down which names the tab shows as registered. Any name that is missing needs manual registration.
- Register what is missing. Select Register package name, enter the name, give it a friendly name, then add the signing key. New and existing names need different key steps, covered below.
- Confirm the result. You get an email when registration completes, and the Packages page shows the registration and key status.
If steps 2 and 3 show everything registered, you are done. Keep the list from step 1, though: you will need it again when you add an app or change a key.
New package name or existing package name?
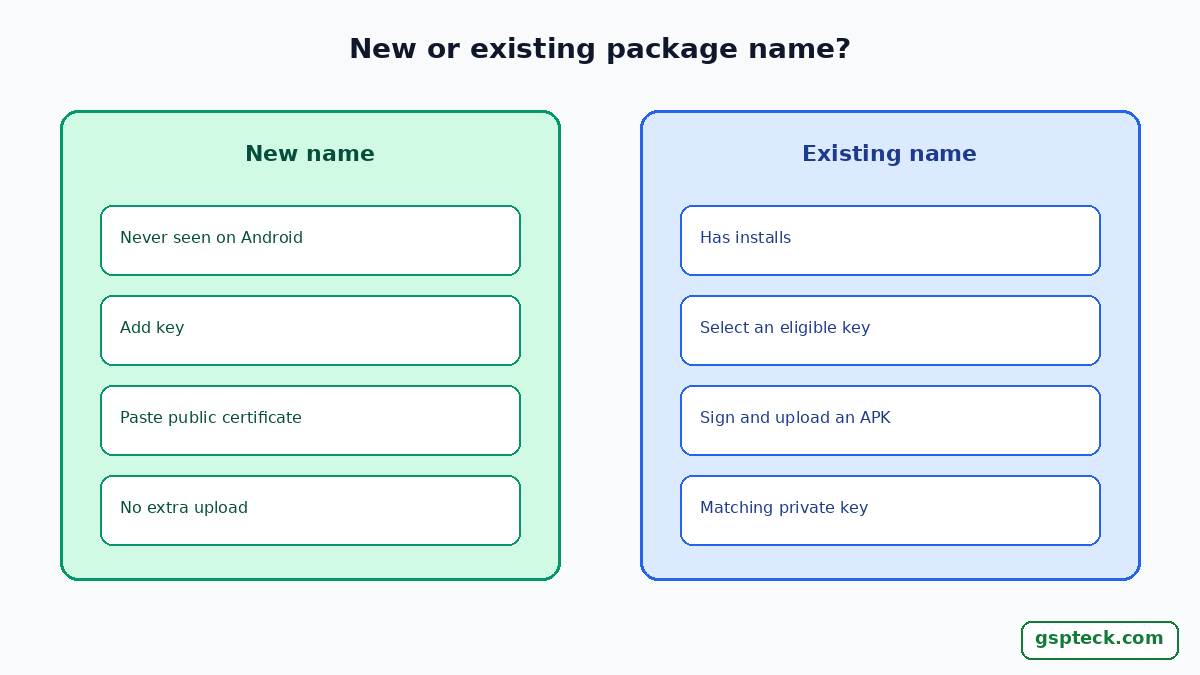
Google treats a name differently depending on whether it has been seen on Android before, which means whether it has installs.
| Case | What you provide | Extra proof needed? |
|---|---|---|
| New package name, never seen on Android | The public key certificate (SHA-256) of your app's signing key pair | No |
| Existing package name, with installs | Pick your certificate from the list of eligible keys | Yes: sign and upload an APK with the matching private key |
For a new name, you open Add key, paste the certificate and you are done. The signing key is the one Android uses to check that updates come from you, so use the key you actually release with.
For an existing name, Play Console lists the eligible public certificates. Search for your fingerprint, select it and choose Add key. If you lost track of which key you use, our guide on the upload key reset when a keystore is lost explains how Play handles signing keys.
Which keys are eligible for an existing name?
Google tries to avoid package names shared between developers, so a certificate is only listed as eligible under these rules:
- One key has more than 50% of known installs: that key has priority, and other developers must submit a request.
- No key has more than 50%, but some have 50 or more installs: all keys with at least 50 installs are eligible.
- No key reaches 50 installs: any key can be used first come, first served. After one developer registers, others must submit a request.
If your fingerprint is not listed, you can still register, but you must also give a reason for using the name, for example that moving users to a new package name would disrupt distribution. Google may reject the request, so do this early and not on the last day.
How to prove you own the signing key
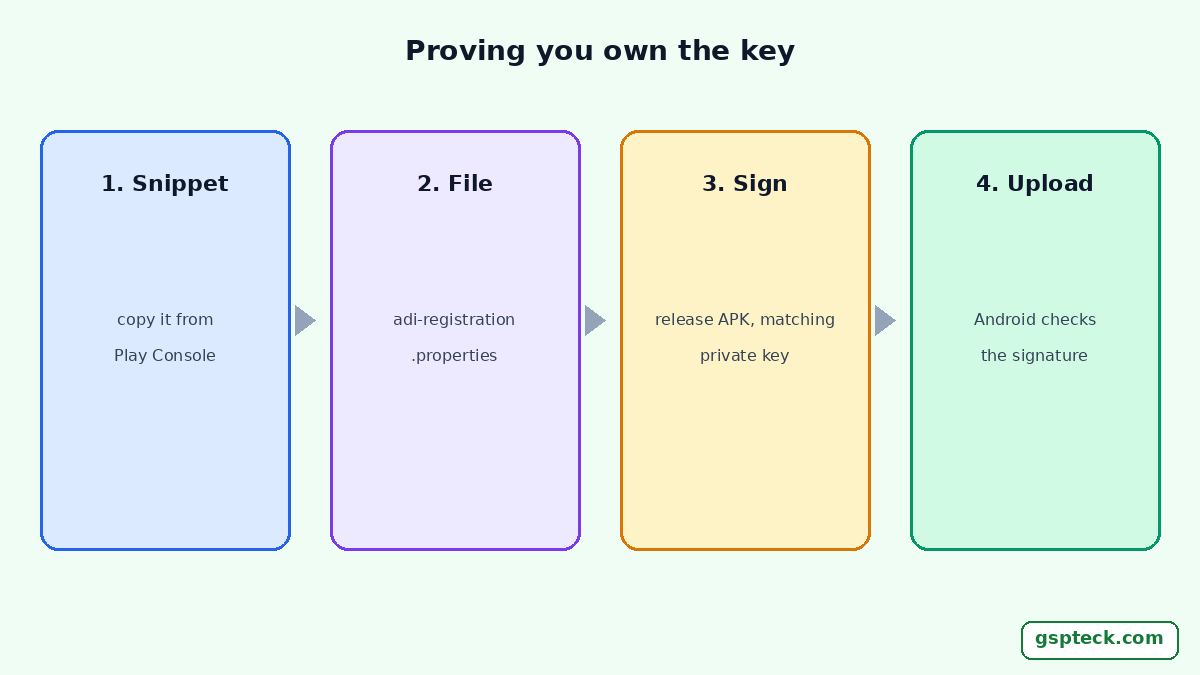
This is the step that confuses people, because it feels like a build task and not a console task. For an existing name, Play Console asks you to sign and upload an APK. The signature is the proof of ownership.
- Select Upload APK next to the package name. Play Console shows the name, the certificate you chose and some signing guidance.
- Copy the snippet. It is a unique identifier tied to your developer account, not a secret key.
- In your project's source tree, inside the assets folder, create a file named exactly
adi-registration.properties. In a standard Android layout that isandroid/app/src/main/assetsfor a Flutter app. You can also use an empty project with the same package name. - Paste the snippet into that file.
- Build a release APK and sign it with the private key that matches the certificate you chose.
- Return to Play Console, select Upload and choose the signed APK. Android checks the signature and registers your ownership.
You upload this APK from the verification screen, not from a release track. Google's guide also covers a case where the signing key is delegated to another store, such as the Samsung Galaxy Store: you build and upload there, then download the final signed APK and upload that one.
What if you also distribute outside Google Play?
Apps that are distributed both on and outside Google Play register through Play Console, which is the path described above. Apps distributed only outside Play use the Android Developer Console instead. Students, teachers and hobbyists who only share apps with up to 20 devices can use a limited distribution account, which needs no government ID and no registration fee.
For users, the effect is on installs from participating stores in the four launch countries. Google also describes an advanced flow for power users who want to install apps from unverified developers, so sideloading is not removed.
Mistakes to avoid
- Forgetting old apps. An app you stopped updating still has a package name and installs. Include it in step 1.
- Using the wrong certificate. Register the certificate of the key pair that signs your app, the one Android uses to check that updates come from you.
- Waiting for the last day. A request to use a package name can be rejected, and you want time to answer.
- Mixing it up with a release. The verification upload happens on its own screen. Your normal app releases and reviews are a separate flow. If you are unsure how long reviews take, read how long Google Play review takes.
If an app has disappeared from search or from the store after any change, our list of 7 reasons a Flutter app is not showing on Google Play is the place to start. For a routine to run before every release, use the Flutter and Firebase release checklist.
FAQ
Do I have to register my Flutter apps by hand?
Probably not. Google Play automatically registers 99% of apps. Check the Package names tab in Play Console, and register by hand only the names that are missing.
Does the verification APK need to be published?
You upload the signed APK through the verification screen to prove you hold the private key. It is a separate flow from your release tracks.
Is the snippet in adi-registration.properties a secret?
No. It is a unique identifier tied to your developer account. The thing to keep secret is your private signing key, which signs the APK and proves ownership.
What if my certificate is not on the eligible list?
You can still register, but you must complete the proof of ownership and send a rationale for using the package name. Google may reject it, so start early.
Will users still be able to install apps from unverified developers?
Google describes an advanced flow for power users who want to install apps from unverified developers, so installing them is not blocked completely.
Sources
- Android Developers: Android developer verification (checked 2026-11-03)
- Play Console Help: Registering Android package names (checked 2026-11-03)
- Play Console Help: Sign and upload an APK (checked 2026-11-03)
- Android Developers: Configure the app module (application ID) (checked 2026-11-03)